Introduction: Leveraging Claude for Workflow Creation
The introduction of Claude 4 marks a significant advancement in automation workflows when combined with N8N. By leveraging Claude’s capabilities, you can drastically reduce the time it takes to conceptualize and implement workflows—traditionally a painstaking process that could consume hours of mapping and iterative design.
What is Claude and Why Use It?
Claude, specifically its latest iteration Claude 4, is recognized as one of the leading large language models for coding, making it a powerful tool for workflow construction in N8N. This model excels in harnessing complex logic and reasoning when crafting automation workflows, which are typically arduous processes that can consume hours of manual mapping and building. With Claude’s capabilities, users can significantly reduce the time and effort involved in workflow development.
The introduction of Claude for Opus marks a pivotal enhancement in its ability to generate code and design workflows effectively. The foundational aspect of leveraging Claude lies in its ability to synthesize vast amounts of contextual information about N8N, including its functionality, troubleshooting capabilities, nodes, and integrations. By integrating these insights into a project, Claude can help users understand how to structure their workflows optimally.
Setting Up Your Claude Project for N8N Workflows
To create a new Claude project designed for N8N workflows, follow these detailed steps that will ensure proper file management and a structured project setup, laying a solid foundation for efficient workflow automation.
- Create a New Project in Claude: Begin by launching Claude and creating a new project. Name your project something relevant, such as “My N8N Workflow Builder 2.”
- Add Essential Files: Populate your project with relevant files from N8N that contain information about the platform and its node functionalities.
- Incorporate a System Prompt: Add a system prompt including an overview, specific instructions, tools, examples, and any relevant SOPs.
- Crafting a Prompt Framework: Ask Claude to provide a framework or guidelines for crafting a prompt that will yield optimal outputs for your N8N workflow.
- Facilitating Further Prompt Engineering: Use a platform like ChatGPT to refine your prompts further.
- Implementing the Prompt in Claude: Input your crafted prompt into the Opus coding environment within Claude.
- Downloading the Built Workflow: After Claude finishes building the workflow, download it as a JSON file.
- Finalizing the Workflow Nodes: After importing into N8N, configure any nodes that require it.
- Testing and Debugging the Workflow: Engage in testing the workflow to identify and fix any errors.
- Adjustments and Customizations: Be ready to make changes to enhancements based on needs that arise during testing.
Crafting the Ideal Prompt for Workflow Building
To craft effective prompts for N8N workflows using Claude, it is essential to understand how to structure your inputs and provide the right context. The following steps outline best practices, frameworks, and guidelines to maximize Claude’s potential in this task.
- Creating Your Project: Start by setting up a new project within Claude with a clear name relevant to the workflow you’re building.
- Adding Contextual Knowledge: Incorporate relevant files that contain documentation about the N8N platform and its integrations.
- Formulating a System Prompt: Develop a system prompt that outlines the necessary context, instructions, tools, and examples.
- Requesting a Prompt Framework: If unsure about how to frame your prompt, ask Claude directly for guidelines.
- Collaborating with ChatGPT: Use ChatGPT to help you refine your prompt based on Claude’s guidance.
- Iteratively Testing Your Workflow: Input your crafted prompt into Claude’s Opus coding builder to generate the workflow, and run tests iteratively.
- Defining Inputs and Outputs: Clearly specify inputs and outputs in your workflow.
- Adjusting Based on Feedback: After testing, refine your prompt to improve the workflow’s precision.
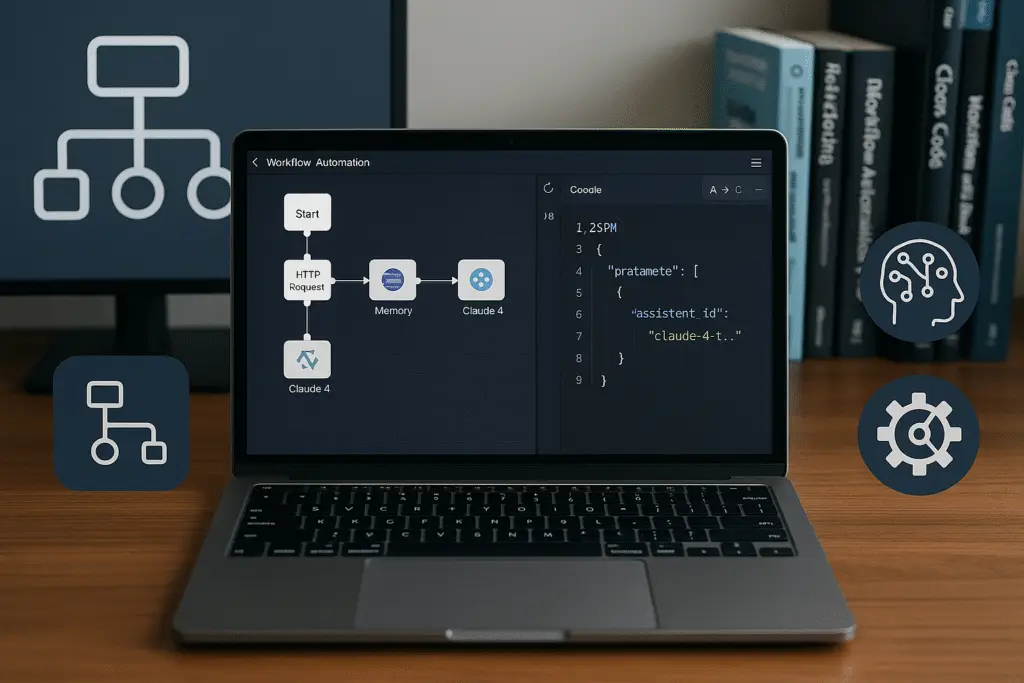
Utilizing Claude’s Opus for Automated Workflow Generation
Opus, Claude’s advanced coding builder, revolutionizes the workflow creation process by automating prompts and providing real-time feedback, effectively simplifying the complexities associated with building automations. Traditionally, creating a workflow requires significant time investment—often up to 15 hours—devoted to mapping out ideas and getting familiar with the integrations.
Once the workflow is built, it can be downloaded in JSON format, providing accessibility to transfer it into a new project. It may require user adjustments, especially for any “red nodes” indicating incomplete setups. For example, a Gmail summary workflow features nodes configured to fetch unread emails daily, checking for new emails, and processing that data correctly.
While Claude enables substantial automation, users must remain engaged in testing and refining to ensure accuracy and functionality in newly created workflows.
Importing and Configuring Your Workflow in N8N
To import workflows into N8N using Claude, follow these detailed steps for a smooth setup, including trigger and node configuration, alongside troubleshooting tips to address common issues.
- Creating a New Project in Claude: Start by naming your project uniquely.
- Adding Essential Files: Compile documentation from N8N to upload to Claude.
- Setting Up Context and Instructions: Include system prompts that guide Claude in building effective workflows.
- Crafting a Prompt Framework: Optimize output by asking Claude for guidelines.
- Running Claude to Build the Workflow: Execute the crafted prompt.
- Importing the Workflow into N8N: Use the import function for the JSON file.
- Configuring Triggers and Nodes: Set up triggers and validate configurations.
- Testing the Workflow: Make sure to run tests to identify errors.
- Troubleshooting Tips: Address common workflow issues by making necessary adjustments.
Testing and Fine-tuning Your N8N Workflows
When testing workflows created using Claude 4, it is crucial to follow a systematic approach to ensure functional correctness.
- Setting Up the Workflow: Make sure to connect necessary components accurately.
- Crafting Effective Prompts: Use Claude effectively to create appropriate prompt structures.
- Testing and Adjusting the Workflow: Confirm nodes correctly process expected data.
- Analyzing and Optimizing Output: Examine results to rectify issues and improve efficiency.
Practical Applications of AI-Driven Workflow Automation
One of the most significant applications of Claude in N8N is automating email summarization. Traditional workflow creation often involves a lengthy process, but Claude 4 can streamline this considerably.
Once established, workflows can efficiently summarize recent emails, providing actionable items directly to users. Further functionality can be obtained by integrating error logging and success tracking, ensuring a smooth process in operations.
Conclusion: The Future of Automated Workflow Creation with Claude
Reflecting on the capabilities of Claude reveals its significant potential in the future of automation. Claude empowers individuals to create intricate workflows efficiently, establishing a base for the implementation of AI in task automation. With Claude, users can concentrate on project requirements while benefiting from AI-driven efficiency and accuracy in workflow creation. The ongoing evolution of these technologies promotes innovative approaches to how we can harness automation in productivity frameworks.


One Response